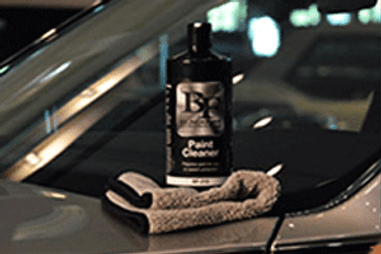
Car Polishing to Remove Paint Imperfections
1st Feb 2025 @ 1:27 PM
Most detailers I know compound by hand incorrectly. In fact, most compound manufacturers do not give proper instructions. Rubbing compound is nothing more than a fine sandpaper in paste form. Compounds should be used in the same way and with the same respect as a sandpaper.
If your car's paint has minor surface scratches (micro marring, swirl marks, etch marks, water spots), then you should start by spot treating each imperfection with a fine compound. Never compound the entire car unless it is absolutely necessary for problems like these:
- Severe water spots or swirl marks
- Heavy oxidation due to sun and weather exposure
- Heavy swirl marks or other micro marring
- Poor repaint or paint repair blending
- Poor surface finish(orange peel)
- Heavy surface pitting from sand or road stones
A compound with a heavier grit will be needed to properly remove the damage. You will then need to follow it up with a finer grit compound or polish to remove any hazing created during the first stage of the polishing process.
My dad taught me to use a flat household sponge to apply compound by hand. This method works okay, because flat sponges are fairly dense and remain flat on the paint surface, but hand compounding is no longer a viable method to buff out a car. Modern paints are simply too hard. If your whole car needs compounding to remove scratches and other damage, you will need an electric polisher or buffer.
Before compounding, you must protect all trim that you don't want compounded with masking tape. If you don't mask off the trim, your cleanup work will increase significantly, and you risk damaging the trim. As an example, rubbing compound will quickly make flat or textured black trim very shiny and smooth. So, please take the time to do the job right, and use a little masking tape. When compounding small areas by hand, it's not necessary to mask off everything as you would when compounding by machine, but you should mask the surface trim.
Apply a small dab of compound to the pad itself, not to the car, and begin polishing a panel. Use moderate pressure and a medium speed. Compound no more than a 2' by 2' area at a time. If you're spot-treating small scratches, keep the compounding to the area being treated. Aggressive compounds work fast, so be careful. All you're trying to do is cut down a small amount of the paint surface to remove the imperfections and level the paint. A compound will not restore full gloss, so don't be discouraged. You will use a finishing polish for the final step.
Here are some tips for better compounding results:
- I have found that lightly spraying the polishing pad with a quick shot of detailing spray makes it much easier to apply any compound. One quick shot will do (just enough to make it slightly damp, not wet).
- Stay away from sharp edges on the body of the car. The paint in these areas will be thin. Don't make it thinner by compounding it.
- Compound using a dense foam applicator with a handle. It's safer, and the results will be much better.
- If you're trying to remove a deep scratch (you can feel it with your fingernail), don't try to do more than lessen its appearance. If you compound to the full depth of the scratch, you may cause the paint to fail. Better to be safe than sorry.
- Buff away the compound residue with a quality microfiber detailing towel.
Compounding may cause your paint to haze slightly or lose its high gloss. This is okay, because the next step is to re-glaze the paint with a grade 2 polish.
Use A Fine Polish To Refine The Finish
If your car did not require compounding to remove surface imperfections, that's great. You're way ahead of the game. Let's get started on learning hand car polishing techniques.
The purpose of polishing is not to fix paint imperfections. That's what we used the fine compound for in the previous step. Polishing is used to refine the paint surface and to begin the process of glazing. When a paint is fully glazed, it has taken on all of the natural gloss and reflection it can without assistance from a wax or sealant.
Just as with compounding, you need to adjust your thinking with polishing. Many people and product manufacturers suggest using a terry cloth towel or terry cloth applicator to apply polish. This is no longer the best polishing tool.
The procedure for polishing is not much different than it is for compounding. The idea is to keep the polishing applicator as flat to the paint surface as possible.
A polish can also be applied by machine and should be if you're polishing the entire vehicle.

